阶段四:增量订阅与消费组件Canal 和分布式搜索与分析引擎Elasticsearch
二、增量订阅与消费组件Canal
1、配置Mysql主从同步
kubectl exec -it mysql-0 -n jzo2o -- /bin/bash
mysql -u root -p
mysql> create user 'canal'@'%' identified WITH mysql_native_password by 'canal';
mysql> GRANT SELECT,REPLICATION SLAVE,REPLICATION CLIENT ON *.* TO 'canal'@'%';
mysql> FLUSH PRIVILEGES;
注意事项:
- 修改配置前先备份原文件,尤其是 SSH、Nginx、数据库和 Kubernetes 生产配置。
2、安装Canal
- 创建配置文件
YAML 保存位置: ~/k8s-manifests/jzo2o/canal-config.yaml
先在 Kubernetes 管理节点执行:
mkdir -p ~/k8s-manifests/jzo2o
cd ~/k8s-manifests/jzo2o
vi canal-config.yaml
把下方 YAML 全部复制进去;红色字段按当前环境修改;按 Esc 后输入 :wq 保存退出。
apiVersion: v1
kind: ConfigMap
metadata:
  name: canal-config
  namespace: jzo2o
data:
  canal.properties: |
    #################################################
    # Canal server config for jzo2o Kubernetes
    # Generated from ./canal.properties
    #################################################

    canal.port = 11111
    canal.metrics.pull.port = 11112

    # tcp, kafka, rocketMQ, rabbitMQ
    canal.serverMode = rabbitMQ

    # file position storage
    canal.file.data.dir = ${canal.conf.dir}
    canal.file.flush.period = 1000

    # memory store
    canal.instance.memory.buffer.size = 16384
    canal.instance.memory.buffer.memunit = 1024
    canal.instance.memory.batch.mode = MEMSIZE
    canal.instance.memory.rawEntry = true

    # detecting config
    canal.instance.detecting.enable = false
    canal.instance.detecting.sql = select 1
    canal.instance.detecting.interval.time = 3
    canal.instance.detecting.retry.threshold = 3
    canal.instance.detecting.heartbeatHaEnable = false

    canal.instance.transaction.size = 1024
    canal.instance.fallbackIntervalInSeconds = 60

    # network config
    canal.instance.network.receiveBufferSize = 16384
    canal.instance.network.sendBufferSize = 16384
    canal.instance.network.soTimeout = 30

    # binlog filter config
    canal.instance.filter.druid.ddl = true
    canal.instance.filter.query.dcl = false
    canal.instance.filter.query.dml = true
    canal.instance.filter.query.ddl = false
    canal.instance.filter.table.error = false
    canal.instance.filter.rows = false
    canal.instance.filter.transaction.entry = false
    canal.instance.filter.dml.insert = false
    canal.instance.filter.dml.update = false
    canal.instance.filter.dml.delete = false

    # binlog format/image check
    canal.instance.binlog.format = ROW,STATEMENT,MIXED
    canal.instance.binlog.image = FULL,MINIMAL,NOBLOB
    canal.instance.get.ddl.isolation = false

    # parallel parser config
    canal.instance.parser.parallel = true
    canal.instance.parser.parallelBufferSize = 256

    # table meta tsdb info
    canal.instance.tsdb.enable = true
    canal.instance.tsdb.dir = ${canal.file.data.dir:../conf}/${canal.instance.destination:}
    canal.instance.tsdb.url = jdbc:h2:${canal.instance.tsdb.dir}/h2;CACHE_SIZE=1000;MODE=MYSQL;
    canal.instance.tsdb.dbUsername = canal
    canal.instance.tsdb.dbPassword = canal
    canal.instance.tsdb.snapshot.interval = 24
    canal.instance.tsdb.snapshot.expire = 360

    # destinations
    canal.destinations = xzb-canal
    canal.conf.dir = ../conf
    canal.auto.scan = true
    canal.auto.scan.interval = 5
    canal.auto.reset.latest.pos.mode = false

    canal.instance.tsdb.spring.xml = classpath:spring/tsdb/h2-tsdb.xml
    canal.instance.global.mode = spring
    canal.instance.global.lazy = false
    canal.instance.global.spring.xml = classpath:spring/file-instance.xml

    # MQ properties
    canal.mq.flatMessage = true
    canal.mq.canalBatchSize = 50
    canal.mq.canalGetTimeout = 100
    canal.mq.accessChannel = local
    canal.mq.database.hash = true
    canal.mq.send.thread.size = 30
    canal.mq.build.thread.size = 8

    # RabbitMQ in Kubernetes.
    # Source file used 192.168.101.68; Kubernetes deployment should use Service name rabbitmq.
    rabbitmq.host = rabbitmq
    rabbitmq.virtual.host = /xzb
    rabbitmq.exchange = exchange.canal-jzo2o
    rabbitmq.username = xzb
    rabbitmq.password = xzb
    rabbitmq.deliveryMode = 2

  instance.properties: |
    #################################################
    # Canal instance config for xzb-canal
    # Generated from ./instance.properties
    #################################################

    canal.instance.mysql.slaveId=1000
    canal.instance.gtidon=false

    # MySQL in Kubernetes.
    # Source file used 192.168.101.68:3306; Kubernetes deployment should use Service name mysql.
    canal.instance.master.address=mysql:3306
    canal.instance.master.journal.name=mysql-bin.000001
    canal.instance.master.position=0
    canal.instance.master.timestamp=
    canal.instance.master.gtid=

    canal.instance.rds.accesskey=
    canal.instance.rds.secretkey=
    canal.instance.rds.instanceId=

    canal.instance.tsdb.enable=true

    # Use the Kubernetes MySQL account. If you create a dedicated canal user,
    # change these values back to canal/canal and grant replication privileges.
    canal.instance.dbUsername=root
    canal.instance.dbPassword=mysql
    canal.instance.connectionCharset = UTF-8
    canal.instance.enableDruid=false

    # Tables watched by this project.
    canal.instance.filter.regex=jzo2o-orders-1\\.orders_dispatch,jzo2o-orders-1\\.orders_seize,jzo2o-foundations\\.serve_sync,jzo2o-customer\\.serve_provider_sync,jzo2o-orders-1\\.serve_provider_sync,jzo2o-orders-1\\.history_orders_sync,jzo2o-orders-1\\.history_orders_serve_sync,jzo2o-market\\.activity
    canal.instance.filter.black.regex=mysql\\.slave_.*

    # Dynamic topic routes. These values become RabbitMQ routing keys.
    canal.mq.dynamicTopic=canal-mq-jzo2o-orders-dispatch:jzo2o-orders-1\\.orders_dispatch,canal-mq-jzo2o-orders-seize:jzo2o-orders-1\\.orders_seize,canal-mq-jzo2o-foundations:jzo2o-foundations\\.serve_sync,canal-mq-jzo2o-customer-provider:jzo2o-customer\\.serve_provider_sync,canal-mq-jzo2o-orders-provider:jzo2o-orders-1\\.serve_provider_sync,canal-mq-jzo2o-orders-serve-history:jzo2o-orders-1\\.history_orders_serve_sync,canal-mq-jzo2o-orders-history:jzo2o-orders-1\\.history_orders_sync,canal-mq-jzo2o-market-resource:jzo2o-market\\.activity
    canal.mq.partition=0
配置详解:
| 需要改的项 | 为什么改 |
|---|---|
namespace: jzo2o | 与实际命名空间一致;使用默认命名空间时可不写。 |
注意事项:
- 修改配置前先备份原文件,尤其是 SSH、Nginx、数据库和 Kubernetes 生产配置。
- YAML 缩进不能乱;同级字段要对齐,子字段要多缩进两个空格。
- 资源名称、命名空间、标签选择器要互相对应,否则资源创建了也可能找不到彼此。
- 镜像地址、版本号和拉取权限要确认,否则 Pod 会进入
ImagePullBackOff。
YAML 保存位置: ~/k8s-manifests/jzo2o/canal.yaml
先在 Kubernetes 管理节点执行:
mkdir -p ~/k8s-manifests/jzo2o
cd ~/k8s-manifests/jzo2o
vi canal.yaml
把下方 YAML 全部复制进去;红色字段按当前环境修改;按 Esc 后输入 :wq 保存退出。
apiVersion: apps/v1
kind: Deployment
metadata:
  name: canal
  namespace: jzo2o
spec:
  replicas: 1
  selector:
    matchLabels:
      app: canal
  template:
    metadata:
      labels:
        app: canal
    spec:
      initContainers:
        - name: init-canal-config
          image: harbor.lanqicheng.top/jzo2o/canal-server:latest
          imagePullPolicy: IfNotPresent
          command:
            - sh
            - -c
            - |-
              set -e
              cp -a /home/admin/canal-server/conf/. /work/conf/
              rm -rf /work/conf/example
              mkdir -p /work/conf/xzb-canal
              cp /config/canal.properties /work/conf/canal.properties
              cp /config/instance.properties /work/conf/xzb-canal/instance.properties
              chmod -R u+rwX,go+rX /work/conf
              find /work/conf -maxdepth 3 -type f -print
          volumeMounts:
            - name: canal-config
              mountPath: /config
            - name: canal-conf-work
              mountPath: /work/conf
      containers:
        - name: canal
          image: harbor.lanqicheng.top/jzo2o/canal-server:latest
          imagePullPolicy: IfNotPresent
          ports:
            - containerPort: 11111
              name: tcp
            - containerPort: 11112
              name: metrics
          volumeMounts:
            - name: canal-conf-work
              mountPath: /home/admin/canal-server/conf
      volumes:
        - name: canal-config
          configMap:
            name: canal-config-from-files
            items:
              - key: canal.properties
                path: canal.properties
              - key: instance.properties
                path: instance.properties
        - name: canal-conf-work
          emptyDir: {}
配置详解:
| 需要改的项 | 为什么改 |
|---|---|
namespace: jzo2o | 与实际命名空间一致;使用默认命名空间时可不写。 |
replicas: 1 | 按可用性和资源容量设置副本数。 |
image: harbor.lanqicheng.top/jzo2o/canal-server:latest | 替换为实际可拉取的镜像地址和版本。 |
注意事项:
- 修改配置前先备份原文件,尤其是 SSH、Nginx、数据库和 Kubernetes 生产配置。
- YAML 缩进不能乱;同级字段要对齐,子字段要多缩进两个空格。
- 资源名称、命名空间、标签选择器要互相对应,否则资源创建了也可能找不到彼此。
- 镜像地址、版本号和拉取权限要确认,否则 Pod 会进入
ImagePullBackOff。
三、分布式搜索与分析引擎Elasticsearch
1、部署Elasticsearch服务
YAML 保存位置: ~/k8s-manifests/jzo2o/elasticsearch.yaml
先在 Kubernetes 管理节点执行:
mkdir -p ~/k8s-manifests/jzo2o
cd ~/k8s-manifests/jzo2o
vi elasticsearch.yaml
把下方 YAML 全部复制进去;红色字段按当前环境修改;按 Esc 后输入 :wq 保存退出。
apiVersion: v1
kind: Service
metadata:
  name: elasticsearch
  namespace: jzo2o
spec:
  type: NodePort
  selector: {app: elasticsearch}
  ports:
    - name: http
      port: 9200
      targetPort: 9200
      nodePort: 30200
    - name: transport
      port: 9300
      targetPort: 9300
apiVersion: apps/v1
kind: StatefulSet
metadata:
  name: elasticsearch
  namespace: jzo2o
spec:
  serviceName: elasticsearch
  replicas: 1
  selector:
    matchLabels: {app: elasticsearch}
  template:
    metadata:
      labels: {app: elasticsearch}
    spec:
      initContainers:
        - name: sysctl
          image: swr.cn-north-4.myhuaweicloud.com/ddn-k8s/docker.io/library/busybox:1.36
          command: ["sh", "-c", "sysctl -w vm.max_map_count=262144"]
          securityContext:
            privileged: true
      containers:
        - name: elasticsearch
          image: harbor.lanqicheng.top/jzo2o/elasticsearch:7.17.7-ik
          ports:
            - containerPort: 9200
              name: http
            - containerPort: 9300
              name: transport
          env:
            - name: discovery.type
              value: single-node
            - name: ES_JAVA_OPTS
              value: -Xms512m -Xmx512m
            - name: xpack.security.enabled
              value: "false"
          volumeMounts:
            - name: es-data
              mountPath: /usr/share/elasticsearch/data
  volumeClaimTemplates:
    - metadata:
        name: es-data
      spec:
        accessModes: ["ReadWriteMany"]
        storageClassName: nfs-storage
        resources:
          requests:
            storage: 20Gi
配置详解:
| 需要改的项 | 为什么改 |
|---|---|
namespace: jzo2o | 与实际命名空间一致;使用默认命名空间时可不写。 |
port: 9200 | 对外暴露的 Service 端口;调用方按此端口访问。 |
targetPort: 9200 | 必须与容器实际监听端口一致。 |
nodePort: 30200 | 集群外通过 NodeIP:NodePort 访问时才需要改。 |
port: 9300 | 对外暴露的 Service 端口;调用方按此端口访问。 |
targetPort: 9300 | 必须与容器实际监听端口一致。 |
注意事项:
- 修改配置前先备份原文件,尤其是 SSH、Nginx、数据库和 Kubernetes 生产配置。
- YAML 缩进不能乱;同级字段要对齐,子字段要多缩进两个空格。
- 资源名称、命名空间、标签选择器要互相对应,否则资源创建了也可能找不到彼此。
- 镜像地址、版本号和拉取权限要确认,否则 Pod 会进入
ImagePullBackOff。
2、创建kibana服务
YAML 保存位置: ~/k8s-manifests/jzo2o/kibana.yaml
先在 Kubernetes 管理节点执行:
mkdir -p ~/k8s-manifests/jzo2o
cd ~/k8s-manifests/jzo2o
vi kibana.yaml
把下方 YAML 全部复制进去;红色字段按当前环境修改;按 Esc 后输入 :wq 保存退出。
apiVersion: v1
kind: Service
metadata:
  name: kibana
  namespace: jzo2o
spec:
  type: NodePort
  selector:
    app: kibana
  ports:
    - name: http
      port: 5601
      targetPort: 5601
      nodePort: 30601
apiVersion: apps/v1
kind: Deployment
metadata:
  name: kibana
  namespace: jzo2o
spec:
  replicas: 1
  selector:
    matchLabels:
      app: kibana
  template:
    metadata:
      labels:
        app: kibana
    spec:
      containers:
        - name: kibana
          image: kibana:7.17.7
          imagePullPolicy: IfNotPresent
          ports:
            - name: http
              containerPort: 5601
          env:
            - name: ELASTICSEARCH_HOSTS
              value: http://elasticsearch:9200
            - name: SERVER_HOST
              value: 0.0.0.0
          readinessProbe:
            httpGet:
              path: /api/status
              port: 5601
            initialDelaySeconds: 60
            periodSeconds: 10
            timeoutSeconds: 5
            failureThreshold: 12
          livenessProbe:
            httpGet:
              path: /api/status
              port: 5601
            initialDelaySeconds: 120
            periodSeconds: 20
            timeoutSeconds: 5
            failureThreshold: 6
          resources:
            requests:
              cpu: 100m
              memory: 512Mi
            limits:
              cpu: 1000m
              memory: 1Gi
配置详解:
| 需要改的项 | 为什么改 |
|---|---|
namespace: jzo2o | 与实际命名空间一致;使用默认命名空间时可不写。 |
port: 5601 | 对外暴露的 Service 端口;调用方按此端口访问。 |
targetPort: 5601 | 必须与容器实际监听端口一致。 |
nodePort: 30601 | 集群外通过 NodeIP:NodePort 访问时才需要改。 |
replicas: 1 | 按可用性和资源容量设置副本数。 |
image: kibana:7.17.7 | 替换为实际可拉取的镜像地址和版本。 |
注意事项:
- 修改配置前先备份原文件,尤其是 SSH、Nginx、数据库和 Kubernetes 生产配置。
- YAML 缩进不能乱;同级字段要对齐,子字段要多缩进两个空格。
- 资源名称、命名空间、标签选择器要互相对应,否则资源创建了也可能找不到彼此。
- 镜像地址、版本号和拉取权限要确认,否则 Pod 会进入
ImagePullBackOff。
3、创建业务索引
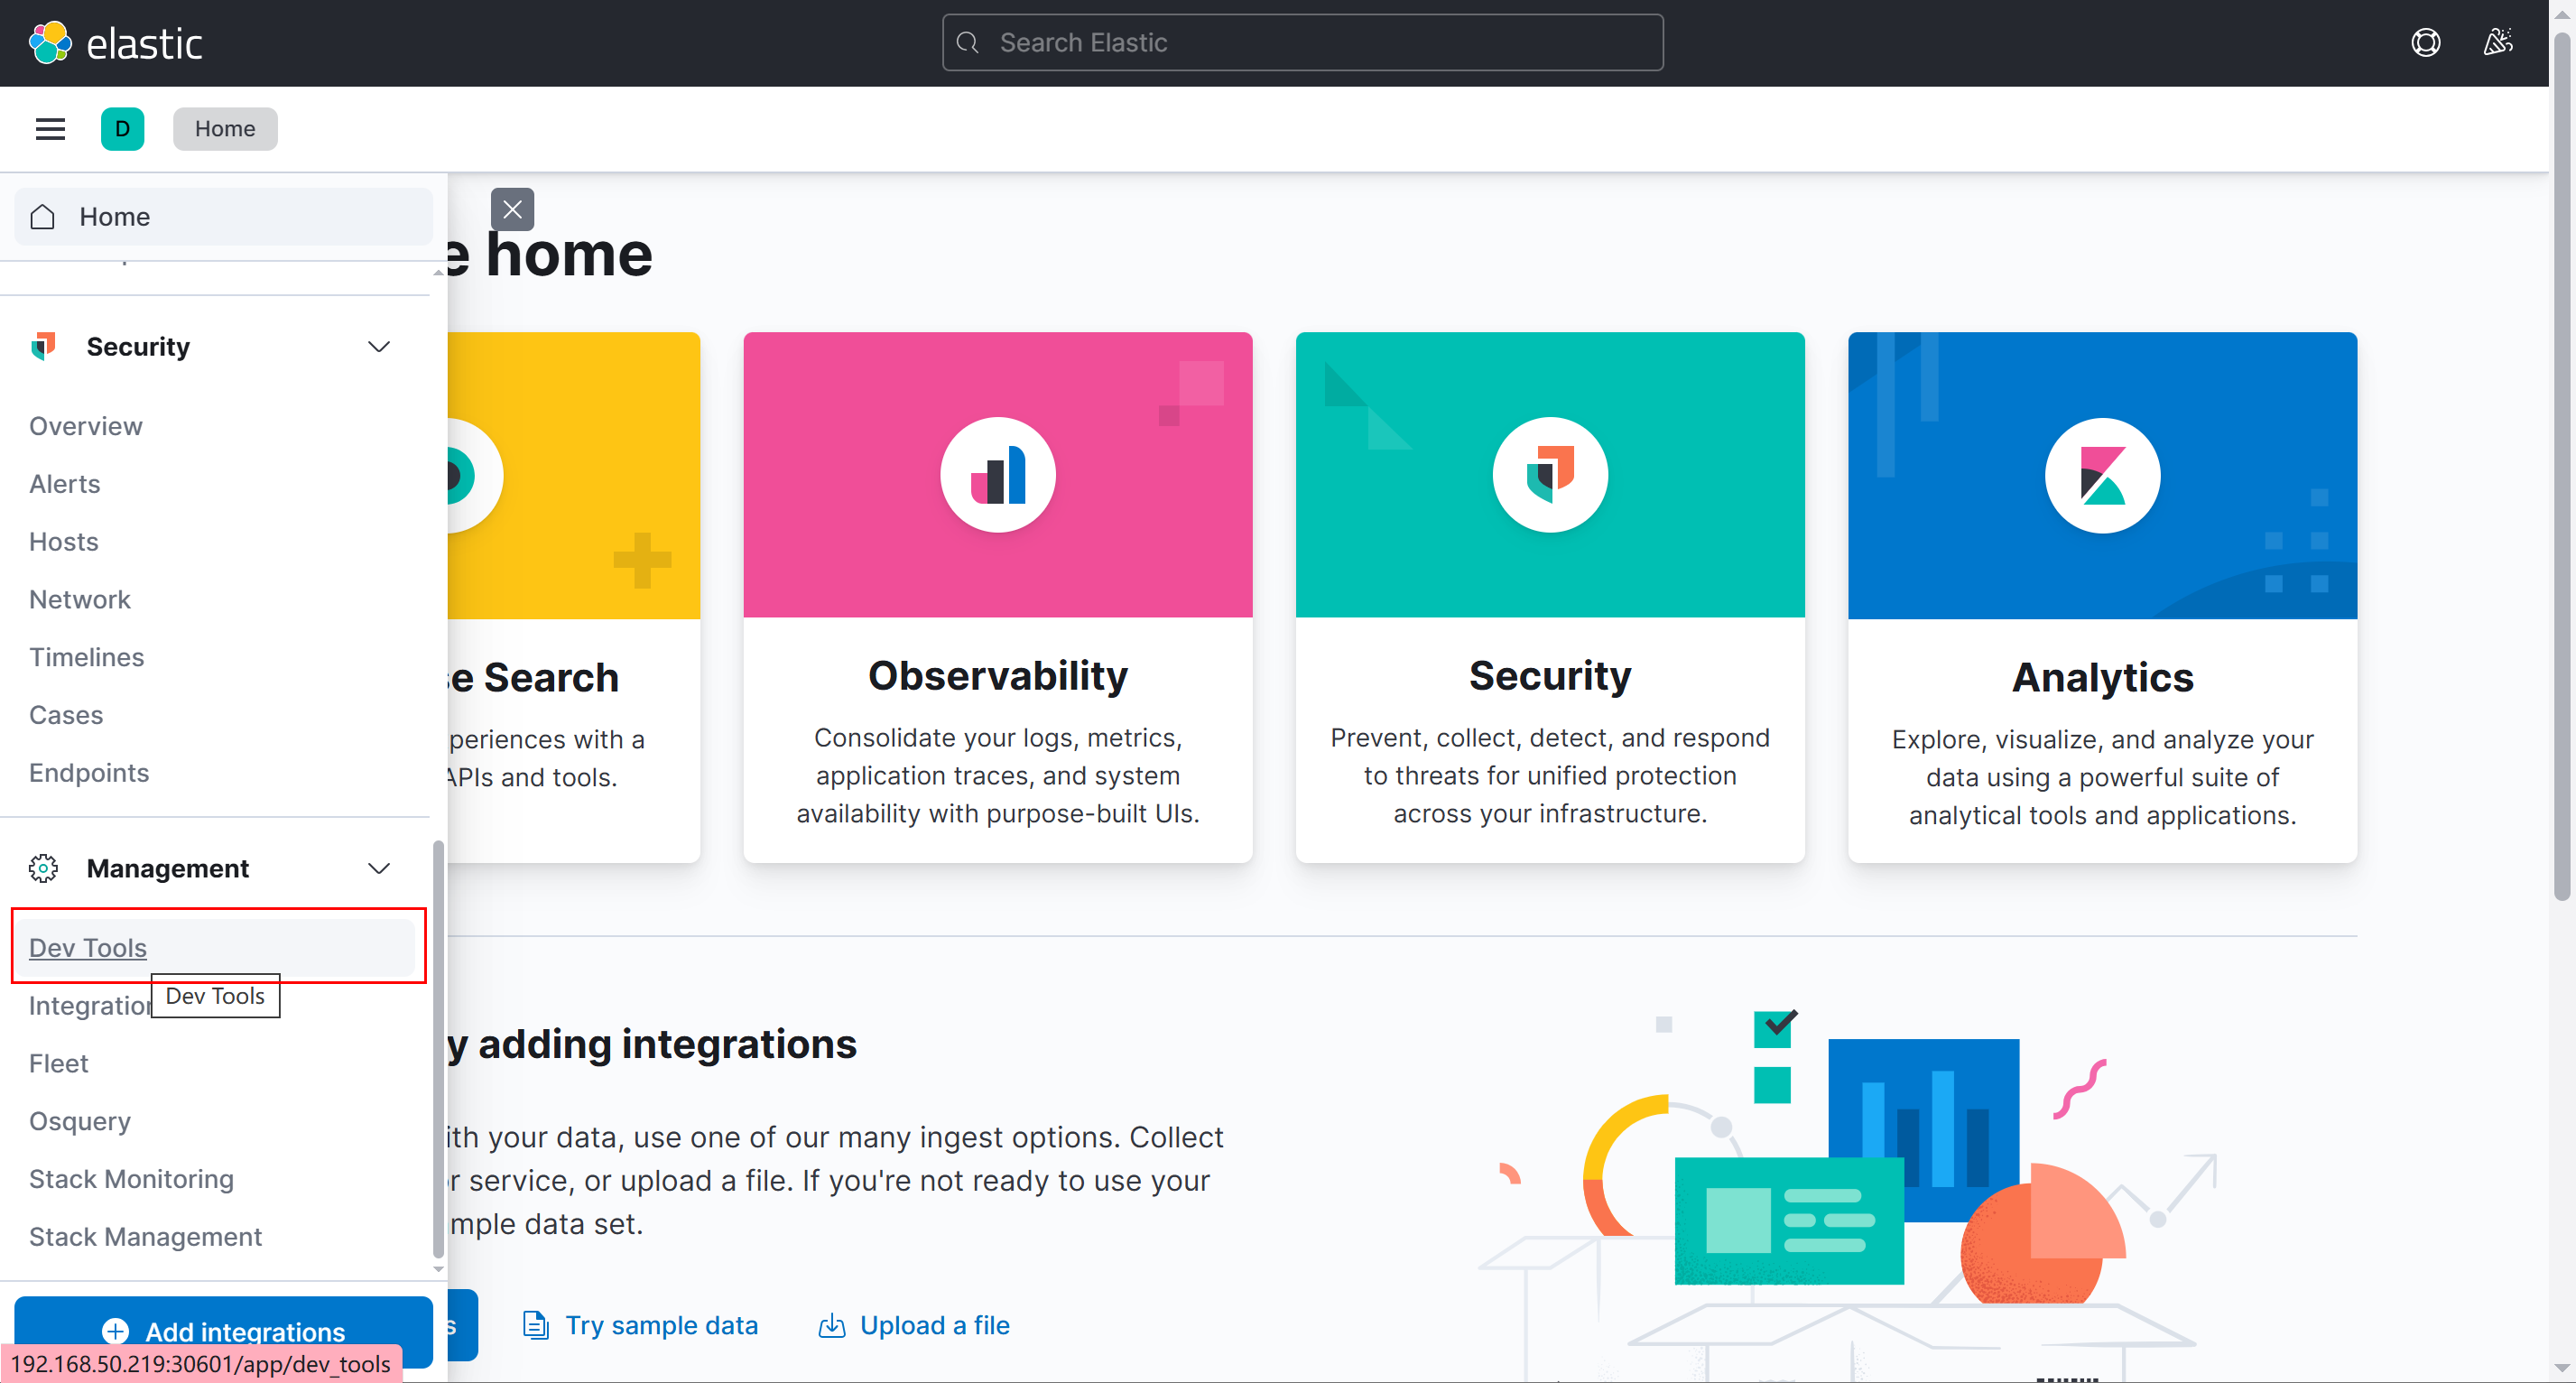
- 登录kibana后台管理:http://192.168.50.219:30601/
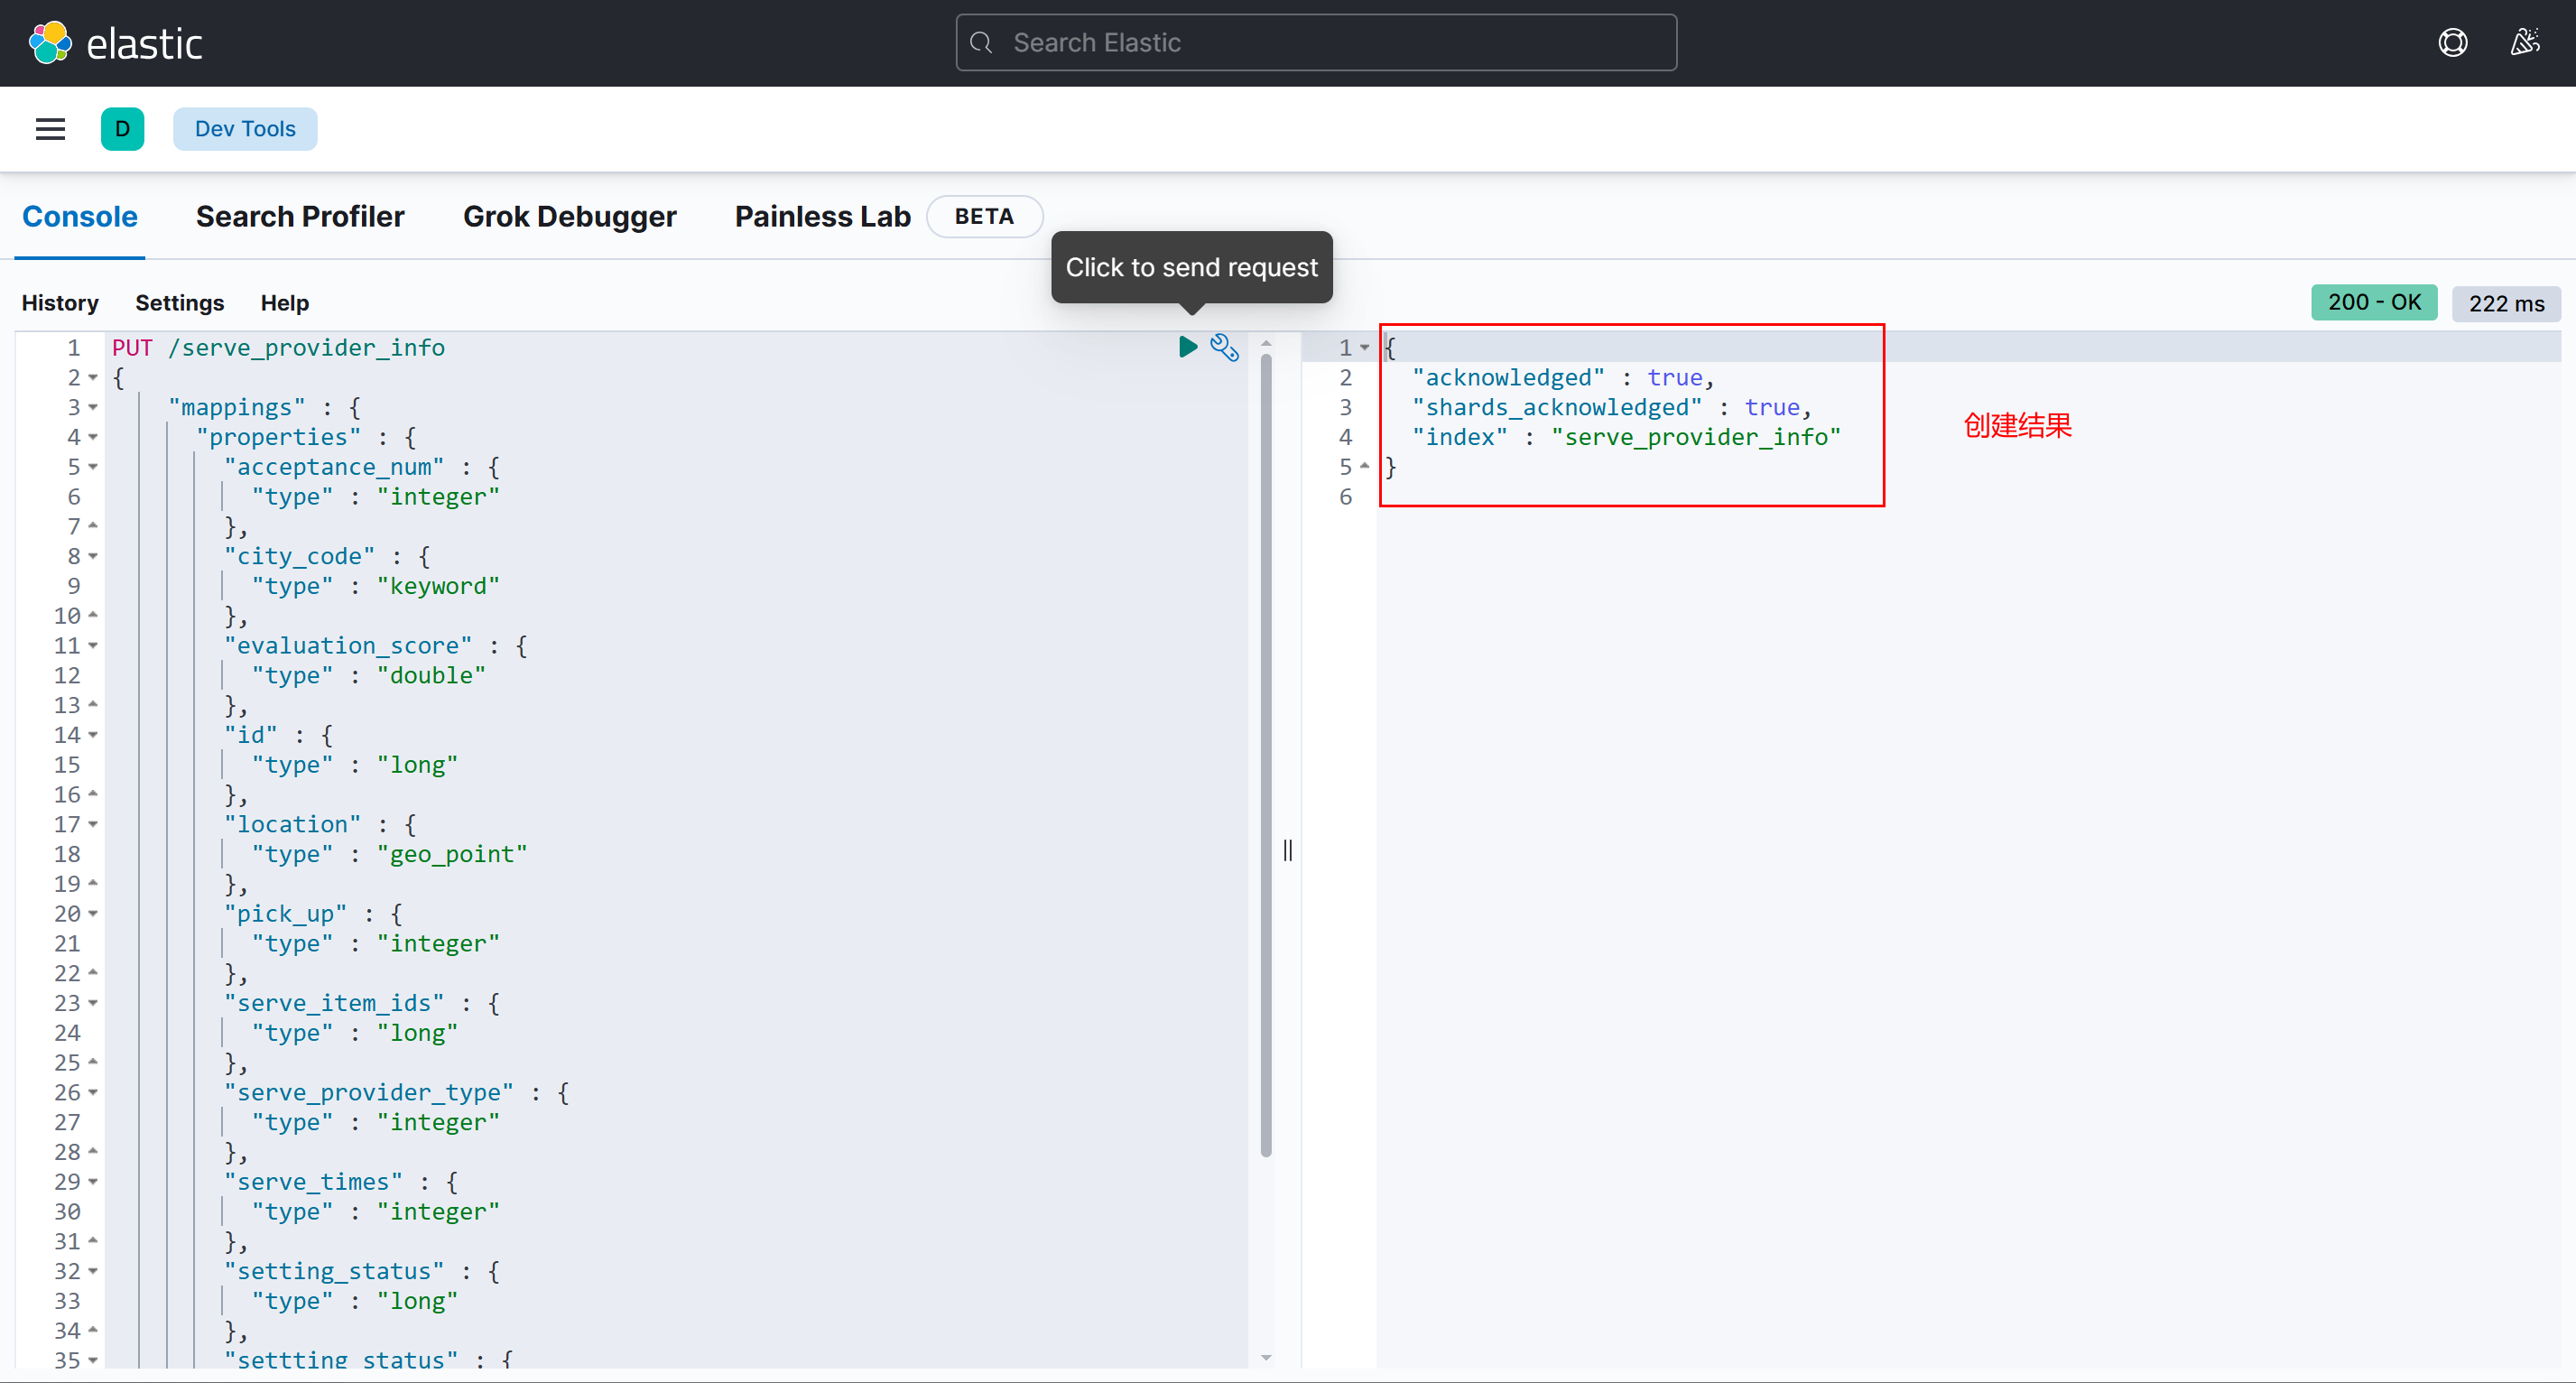
- 创建serve_provider_info索引
PUT /serve_provider_info
{
    "mappings" : {
      "properties" : {
        "acceptance_num" : {
          "type" : "integer"
        },
        "city_code" : {
          "type" : "keyword"
        },
        "evaluation_score" : {
          "type" : "double"
        },
        "id" : {
          "type" : "long"
        },
        "location" : {
          "type" : "geo_point"
        },
        "pick_up" : {
          "type" : "integer"
        },
        "serve_item_ids" : {
          "type" : "long"
        },
        "serve_provider_type" : {
          "type" : "integer"
        },
        "serve_times" : {
          "type" : "integer"
        },
        "setting_status" : {
          "type" : "long"
        },
        "settting_status" : {
          "type" : "integer"
        },
        "skills" : {
          "type" : "long"
        }
      }
    }
}
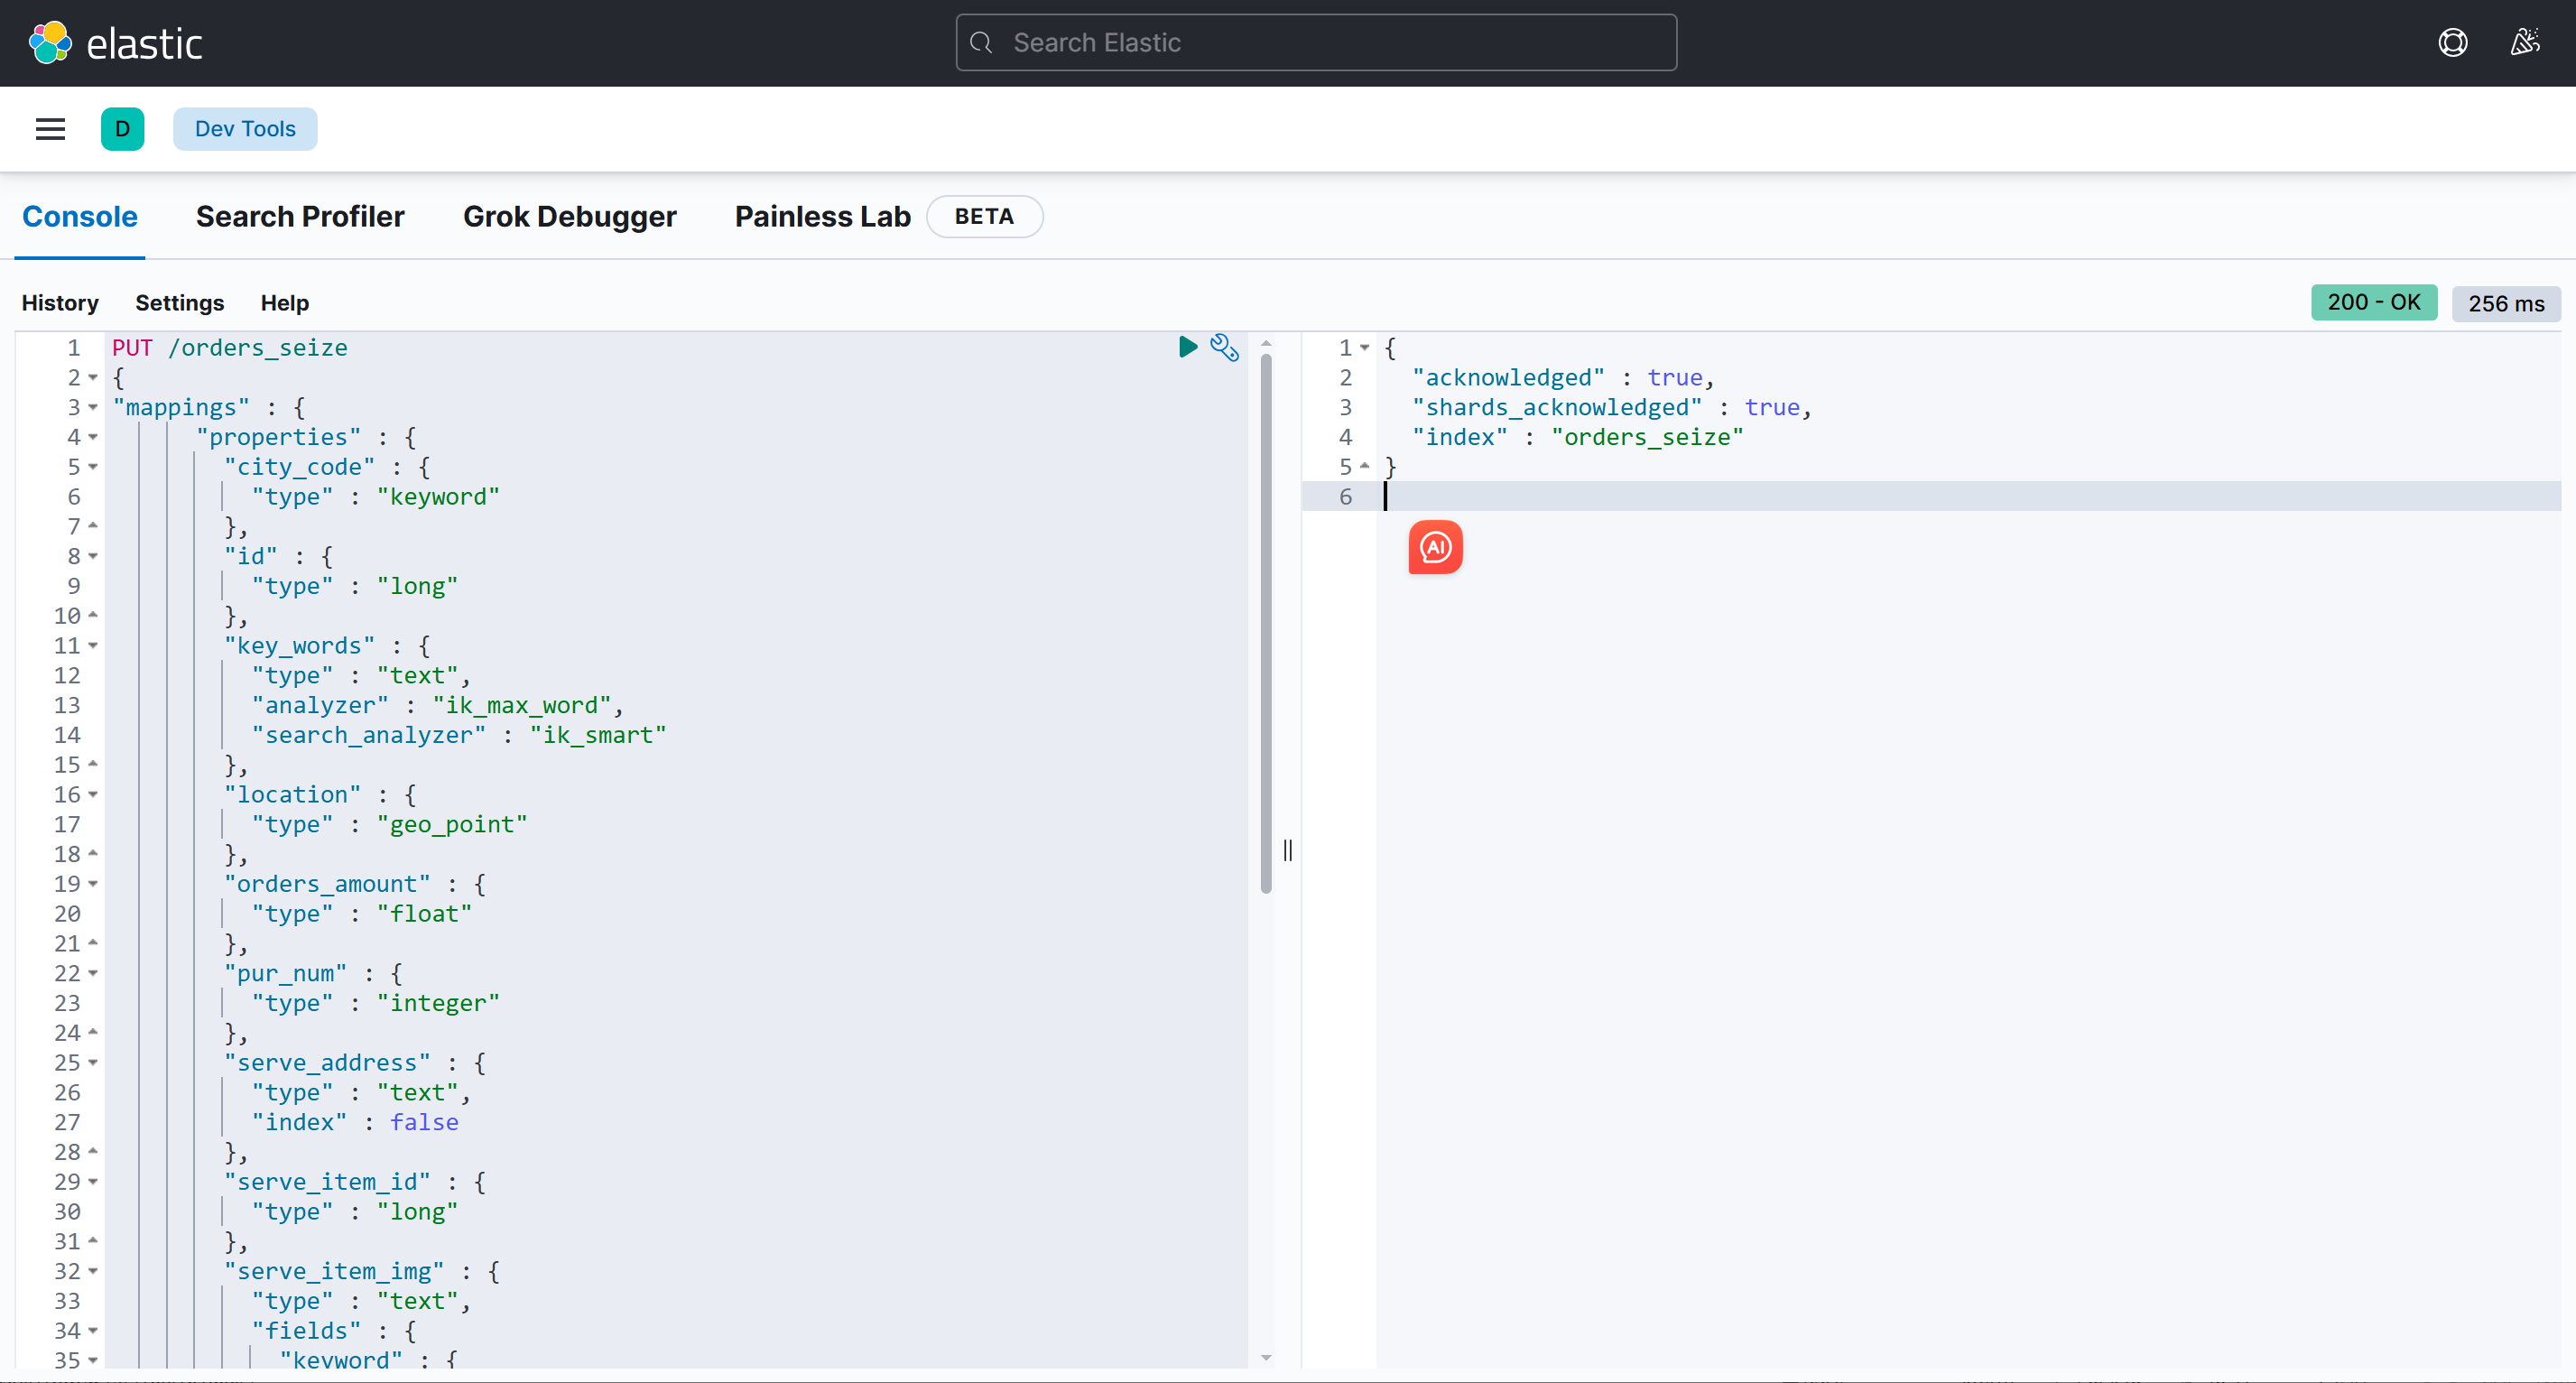
- 创建orders_seize索引
PUT /orders_seize
{
"mappings" : {
      "properties" : {
        "city_code" : {
          "type" : "keyword"
        },
        "id" : {
          "type" : "long"
        },
        "key_words" : {
          "type" : "text",
          "analyzer" : "ik_max_word",
          "search_analyzer" : "ik_smart"
        },
        "location" : {
          "type" : "geo_point"
        },
        "orders_amount" : {
          "type" : "float"
        },
        "pur_num" : {
          "type" : "integer"
        },
        "serve_address" : {
          "type" : "text",
          "index" : false
        },
        "serve_item_id" : {
          "type" : "long"
        },
        "serve_item_img" : {
          "type" : "text",
          "fields" : {
            "keyword" : {
              "type" : "keyword",
              "ignore_above" : 256
            }
          }
        },
        "serve_item_name" : {
          "type" : "text",
          "index" : false
        },
        "serve_start_time" : {
          "type" : "text",
          "index" : false
        },
        "serve_time" : {
          "type" : "integer"
        },
        "serve_type_id" : {
          "type" : "long"
        },
        "serve_type_name" : {
          "type" : "text",
          "index" : false
        },
        "total_amount" : {
          "type" : "double"
        }
      }
    }
}
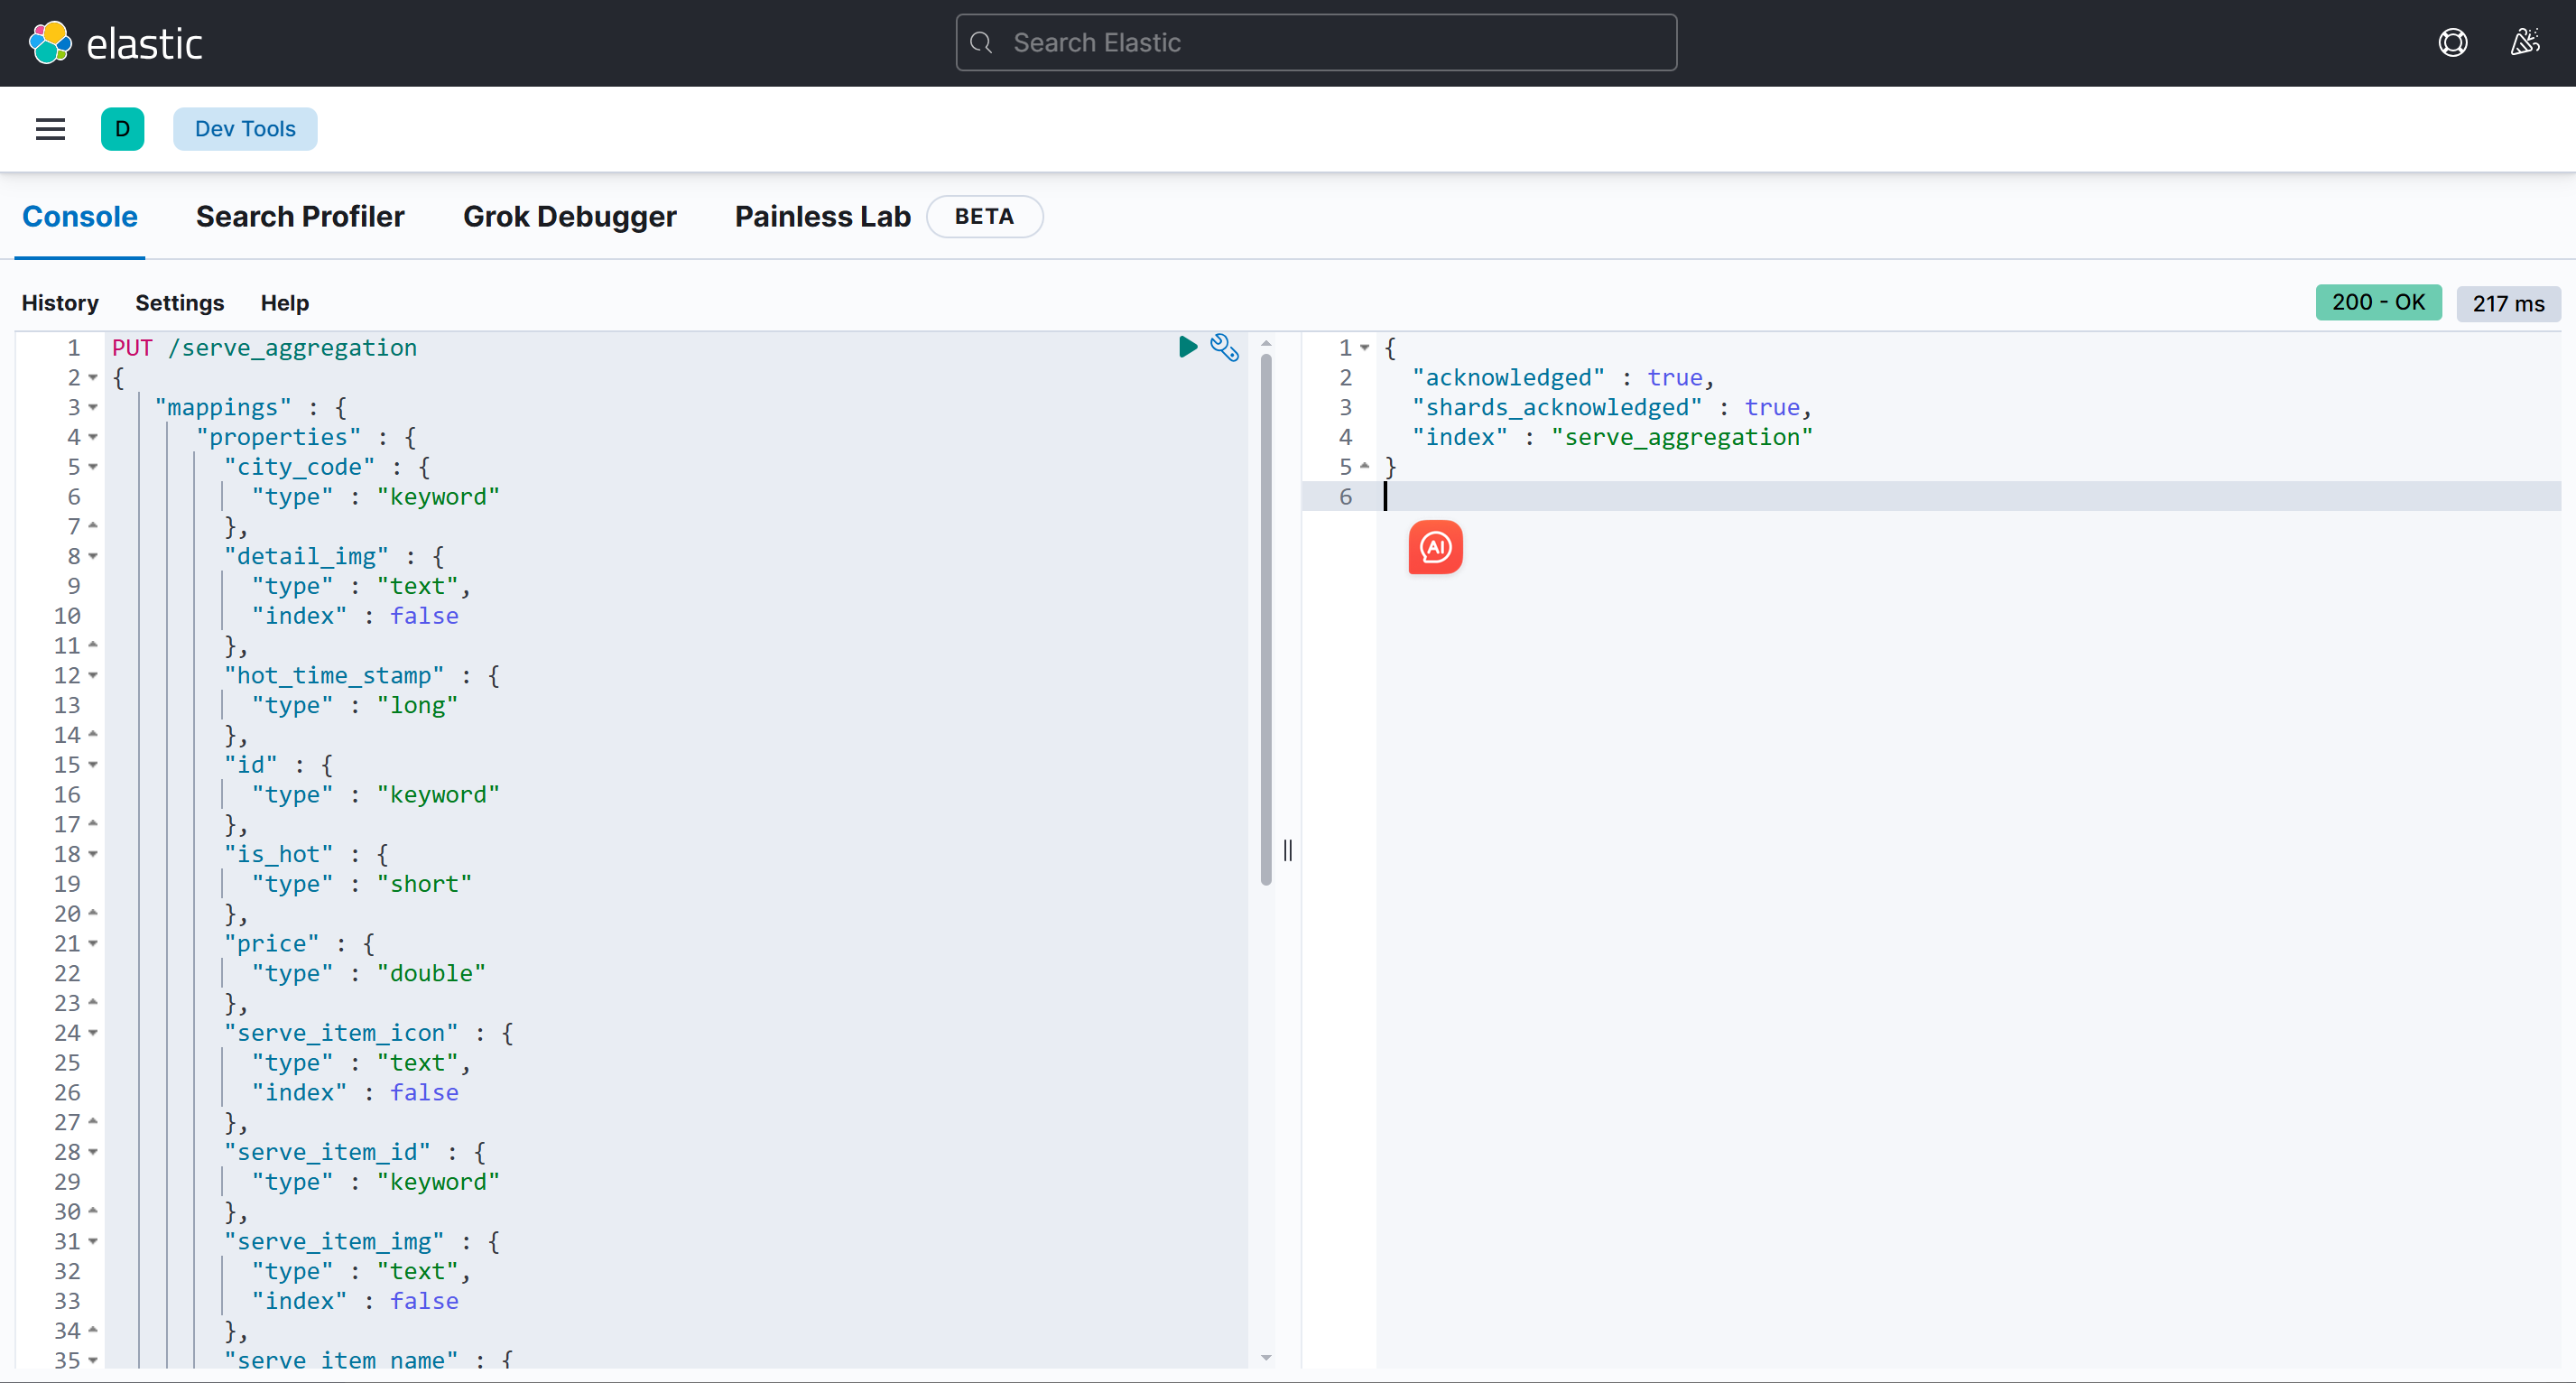
- 创建serve_aggregation索引
PUT /serve_aggregation
{
   "mappings" : {
      "properties" : {
        "city_code" : {
          "type" : "keyword"
        },
        "detail_img" : {
          "type" : "text",
          "index" : false
        },
        "hot_time_stamp" : {
          "type" : "long"
        },
        "id" : {
          "type" : "keyword"
        },
        "is_hot" : {
          "type" : "short"
        },
        "price" : {
          "type" : "double"
        },
        "serve_item_icon" : {
          "type" : "text",
          "index" : false
        },
        "serve_item_id" : {
          "type" : "keyword"
        },
        "serve_item_img" : {
          "type" : "text",
          "index" : false
        },
        "serve_item_name" : {
          "type" : "text",
          "analyzer": "ik_max_word",
          "search_analyzer":"ik_smart"

        },
        "serve_item_sort_num" : {
          "type" : "short"
        },
        "serve_type_icon" : {
          "type" : "text",
          "index" : false
        },
        "serve_type_id" : {
          "type" : "keyword"
        },
        "serve_type_img" : {
          "type" : "text",
          "index" : false
        },
        "serve_type_name" : {
          "type" : "text",
          "analyzer": "ik_max_word",
          "search_analyzer":"ik_smart"
        },
        "serve_type_sort_num" : {
          "type" : "short"
        }
      }
    }
}
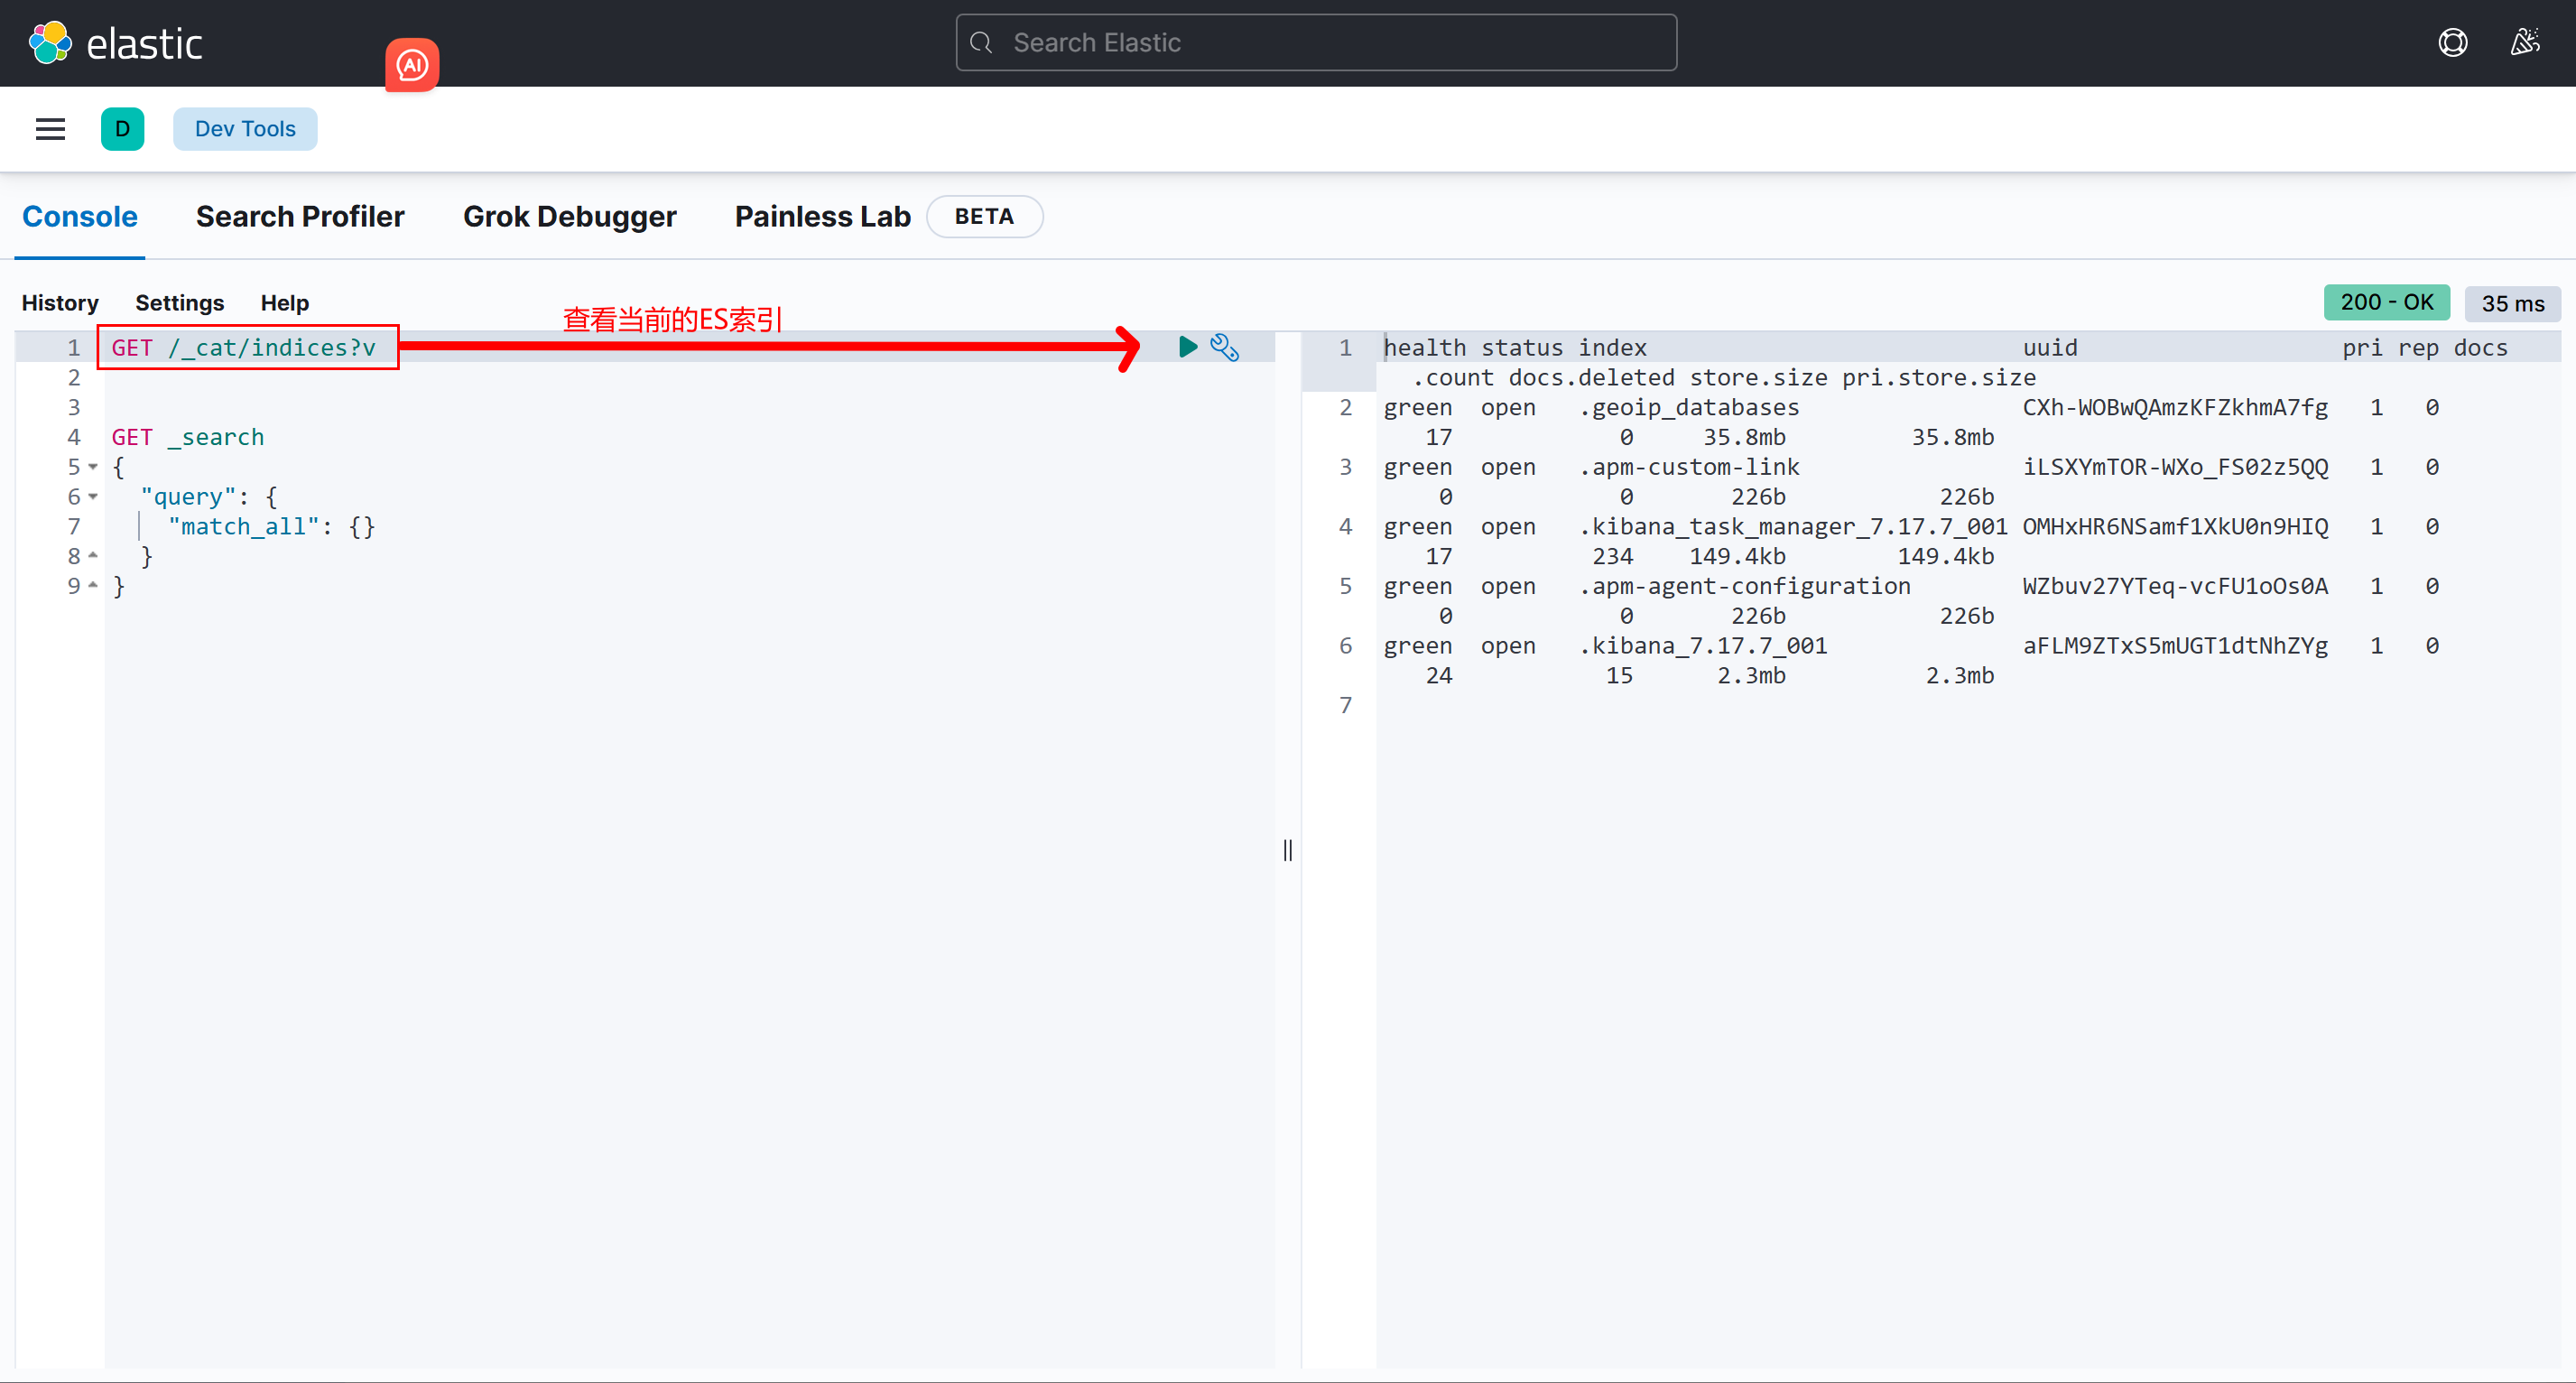
- 查看创建结果
GET /_cat/indices?v注意事项:
- 修改配置前先备份原文件,尤其是 SSH、Nginx、数据库和 Kubernetes 生产配置。